The heater is the beating heart of any sauna, the quiet force that turns bare cedar walls into a sanctuary of enveloping warmth. Choose and install it well, and every session rewards you with deep, even heat and years of serene, dependable performance. This complete guide walks discerning homeowners through the entire journey, from selecting the perfect heater to installing it safely and optimizing it for pure, restorative comfort.
Here’s what you’ll discover:
- How to choose the right heater type and size for your space
- A clear, step-by-step installation walkthrough
- How to prepare your sauna and its electrical setup
- Placement wisdom, Finnish heritage, and answers to common questions
Let’s begin with the choice that shapes everything.
Choosing the Right Sauna Heater
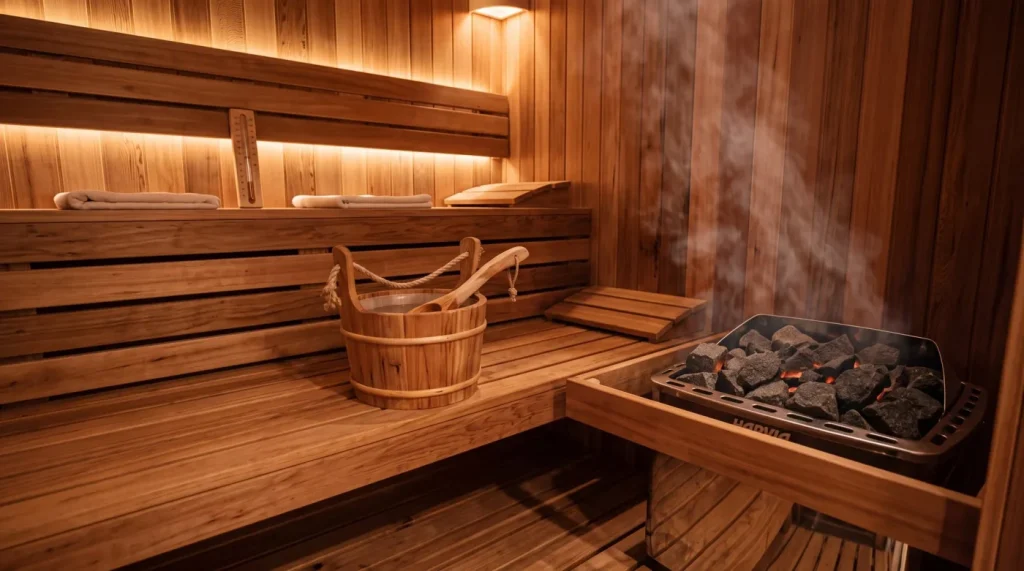
The heater you select defines the character of your sauna, how quickly it warms, how the heat feels, and how effortlessly it fits your lifestyle. A thoughtful choice here rewards you every single session.
1. Electric vs. Wood-Burning Sauna Heaters
Electric heaters offer effortless, push-button convenience. With precise temperature control, clean operation, and easy pairing with digital timers, these advanced heating systems suit modern homes and spontaneous, everyday use beautifully. You simply set your temperature, and warmth follows rapidly with minimal energy consumption.
Wood-burning heaters, by contrast, deliver the timeless romance of live flame and fragrant smoke. They require no electrical hookup, making them ideal for remote or rustic outdoor settings, and the gentle ritual of tending the fire becomes part of the relaxation itself. Choose electric for ease and control; choose wood-burning for authentic ceremony and off-grid freedom.
2. Choosing the Correct Heater Size for Your Sauna
Matching heater power to your sauna’s volume is the single most important technical decision you’ll make. An undersized heater struggles to reach temperature and runs constantly, while an oversized one wastes energy and heats unevenly.
As a reliable guide, allow roughly 1 kW of heating power for every 45 cubic feet (about 1.3 cubic meters) of interior space. Measure your sauna’s length, width, and height, multiply them for the total volume, then divide by 45 to find your target kilowatt rating. Compact models like our Baby Bear require lower wattage, while larger Mama Bear or Papa Bear builds require higher capacity. Add a little capacity for large glass panels, uninsulated surfaces, or cold-climate outdoor installations, all of which shed heat more quickly.
3. Understanding Sauna Heater Types and Features
Beyond the electric-versus-wood decision, heaters vary in form and refinement. Wall-mounted units save floor space in compact cabins, while freestanding floor models suit larger saunas and generous stone capacities. Look for these hallmarks of a quality heater:
- Generous stone capacity for soft, radiant heat and rich steam when you pour water
- Durable stainless steel construction that resists years of heat and humidity
- Intuitive controls, whether integrated or separately mounted, for easy operation
- Safety guards that shield you from accidental contact with hot surfaces
Select the features that align with how you love to relax, and your heater becomes a lasting source of comfort.
How to Install a Sauna Heater Step by Step
With your heater chosen, installation unfolds in four graceful stages. Take your time with each, and you’ll be rewarded with safe, reliable warmth from the very first session.
Step 1: Prepare the Sauna Installation Area
Begin by clearing the space where your heater will sit, ensuring the floor and surrounding walls are clean, dry, and sound. If you are working with our sustainably sourced cedar wood, confirm that the mounting area is structurally reinforced. Confirm the surface beneath a floor-standing heater is level and stable, and verify that your chosen spot allows the manufacturer’s specified clearances on every side. Gather your tools, hardware, and instructions before you start, so the process flows without interruption.
Step 2: Position the Sauna Heater Correctly
Place the heater in its designated location, typically near the door or along a wall, where rising heat can circulate freely throughout the cabin. Wall-mounted units should be fixed securely to solid framing at the height specified by the maker, while floor models rest on their stable base. Double-check that every clearance to benches, walls, and the ceiling meets the required minimum before fastening anything permanently.
Step 3: Connect the Heater and Controls
Attach the heater to its power source and link any external control panel or thermostat according to the manufacturer’s wiring diagram. For electric heaters, this connection should always be completed by a licensed electrician on a properly rated, dedicated circuit as part of your complete installation services. Once wiring is secure, arrange the sauna stones loosely around and over the elements, allowing air to flow between them for even, radiant heat and optimal energy efficiency.
Step 4: Test the Heater Performance
With everything connected, run your first heating cycle. Set your desired temperature and allow the sauna to warm fully, watching that it reaches and holds the target steadily through rapid heat distribution. Listen for unusual sounds, check that controls respond accurately, and confirm the heat feels even across the space. A gentle ladle of water over the stones should produce a soft, satisfying burst of steam, your first taste of the ritual to come.
How to Prepare Your Sauna for Installation
A little preparation before installation day ensures everything proceeds smoothly, and your finished sauna performs beautifully for years.
Checking Sauna Size and Layout
Start by confirming your sauna’s interior dimensions and bench arrangement. These measurements determine both your heater size and its ideal placement. Note where benches, the door, and any glass panels sit, since these elements shape how heat will circulate and where clearances must be respected. Expert consultation on sauna design can help optimize layout configurations for both custom indoor and outdoor installations.
Preparing Ventilation Requirements
Proper airflow is essential to a comfortable, healthy sauna. Plan for an intake vent positioned low, near the heater, and an exhaust vent placed higher on the opposite side. This arrangement draws fresh air across the heat source and circulates it gently throughout the cabin, keeping the atmosphere fresh and the heat evenly distributed.
Ensuring Proper Safety Clearances
Every heater specifies minimum distances to benches, walls, the ceiling, and the floor. Honoring these clearances is non-negotiable, protecting both the timber and everyone who enjoys the sauna. Measure carefully and, where needed, install the protective railings or guards the manufacturer recommends around the heater.
Preparing the Electrical Setup
For electric heaters, confirm your home can supply the required power before installation begins. Plan a tidy route for the dedicated circuit from your panel to the sauna, and arrange for a licensed electrician to handle the connection. Thoughtful electrical planning here prevents delays and keeps your project safe and seamless.
Electrical and Power Requirements
Sauna heaters draw meaningful power, so getting the electrical details right is fundamental to safe, dependable warmth. Here’s what to understand.
Understanding Sauna Heater Electrical Requirements
Every electric heater carries a specified power rating and corresponding electrical demand. Smaller units may run on a standard household circuit, while most traditional heaters require a dedicated line sized precisely to their kilowatt rating. Always consult your heater’s specifications and confirm your home’s capacity can comfortably meet them.
Choosing the Right Voltage and Wiring
Compact plug-in heaters often use standard 120-volt power, whereas larger, higher-output heaters typically call for a 240-volt supply. The wiring gauge must match the heater’s amperage draw to carry the load safely. Using correctly rated cable, suited to the heat and humidity of a sauna environment, is essential for both performance and longevity.
Circuit Breaker and Electrical Safety Considerations
Your heater should be protected by a dedicated circuit breaker rated to its specifications, guarding against overload. Proper grounding is equally vital, as is compliance with your local electrical codes. Many installations also benefit from ground-fault protection for added peace of mind in a moist environment.
When to Hire a Professional Electrician
While assembling the sauna structure can be a rewarding hands-on project, electrical connections are firmly the domain of a licensed professional. An electrician ensures your circuit, wiring, grounding, and breaker all meet code, protecting your home, your family, and your investment. Whenever hardwiring is involved, entrust it to an expert without exception.
Final Sauna Heater Placement and Installation Tips
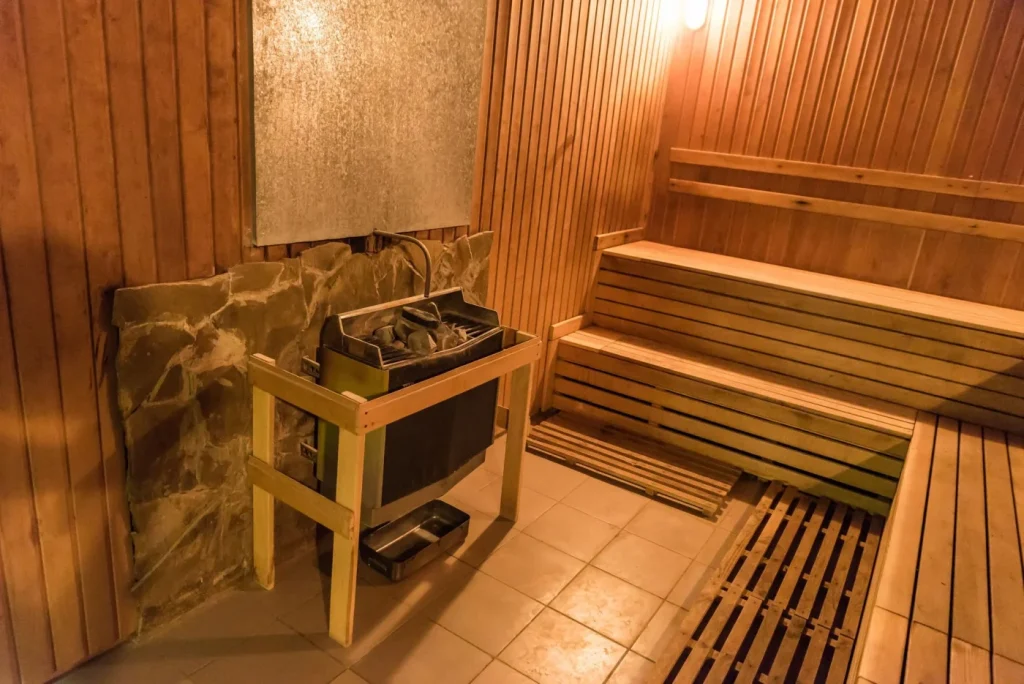
The finest custom craftsmanship balances safety, efficiency, and comfort. These refinements help you extract the very best from your heater.
Proper Heater Location for Maximum Heat Distribution
Position your heater so warmth rises and circulates naturally throughout the cabin, typically near the entry, where cooler incoming air meets the heat source first. This placement encourages a gentle, continuous cycle of warm air, ensuring even, enveloping heat rather than isolated hot spots.
Maintaining Safe Distance From Sauna Materials
Respect every clearance the manufacturer specifies between the heater and nearby timber, benches, and the ceiling. These distances protect your premium cedar wood from excessive heat and preserve its natural aromatic beauty for years. Where clearances are tight, install the recommended guards or heat shields to keep both the wood and bathers safe.
Optimizing Sauna Performance and Efficiency
A few thoughtful touches elevate efficiency: arrange your stones loosely for free airflow, ensure your ventilation is balanced, and confirm your cabin is well insulated so precious heat stays where it belongs. A correctly sized heater in a well-sealed sauna warms swiftly, holds temperature effortlessly, and keeps running costs pleasingly low.
Common Sauna Heater Installation Mistakes to Avoid
A little foresight spares you common pitfalls. Steer clear of these frequent missteps:
- Undersizing the heater, which leaves the sauna struggling to reach temperature
- Ignoring glass and uninsulated surfaces when calculating power needs
- Packing stones too tightly, which blocks airflow and dulls the heat
- Neglecting ventilation, leading to stuffy, uneven warmth
- Skipping professional wiring, a risk to both safety and code compliance
Avoid these, and your installation will reward you with flawless, lasting performance.
The Best of Finnish Sauna
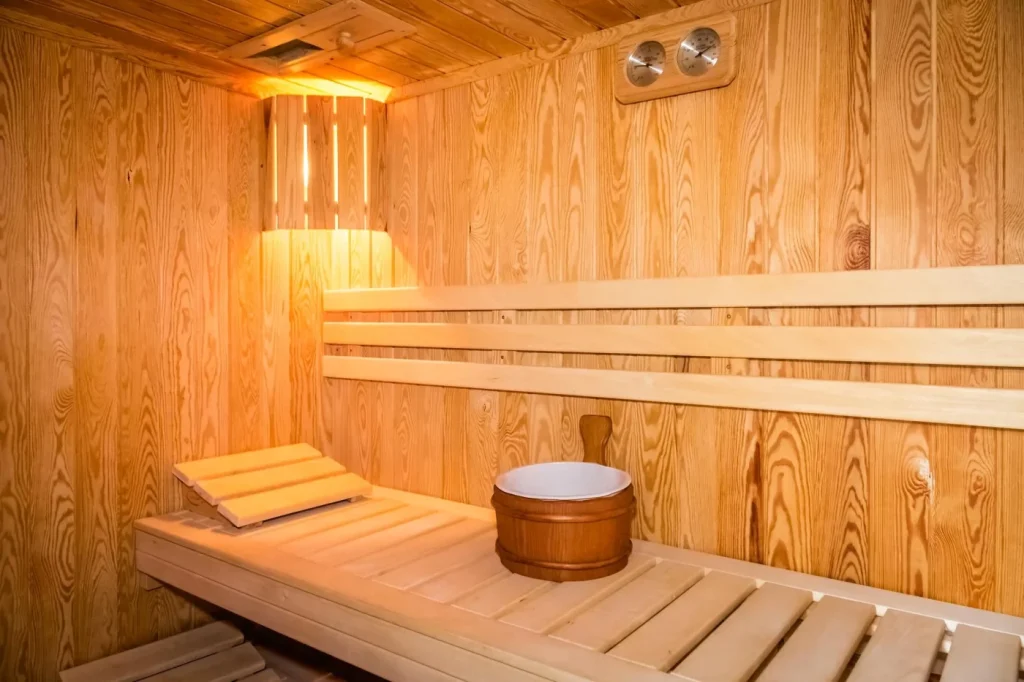
To install a heater with true understanding, it helps to appreciate the heritage that shaped it. The Finnish sauna tradition, refined over centuries, remains the gold standard for authentic heat.
Traditional Finnish Sauna Heating Principles
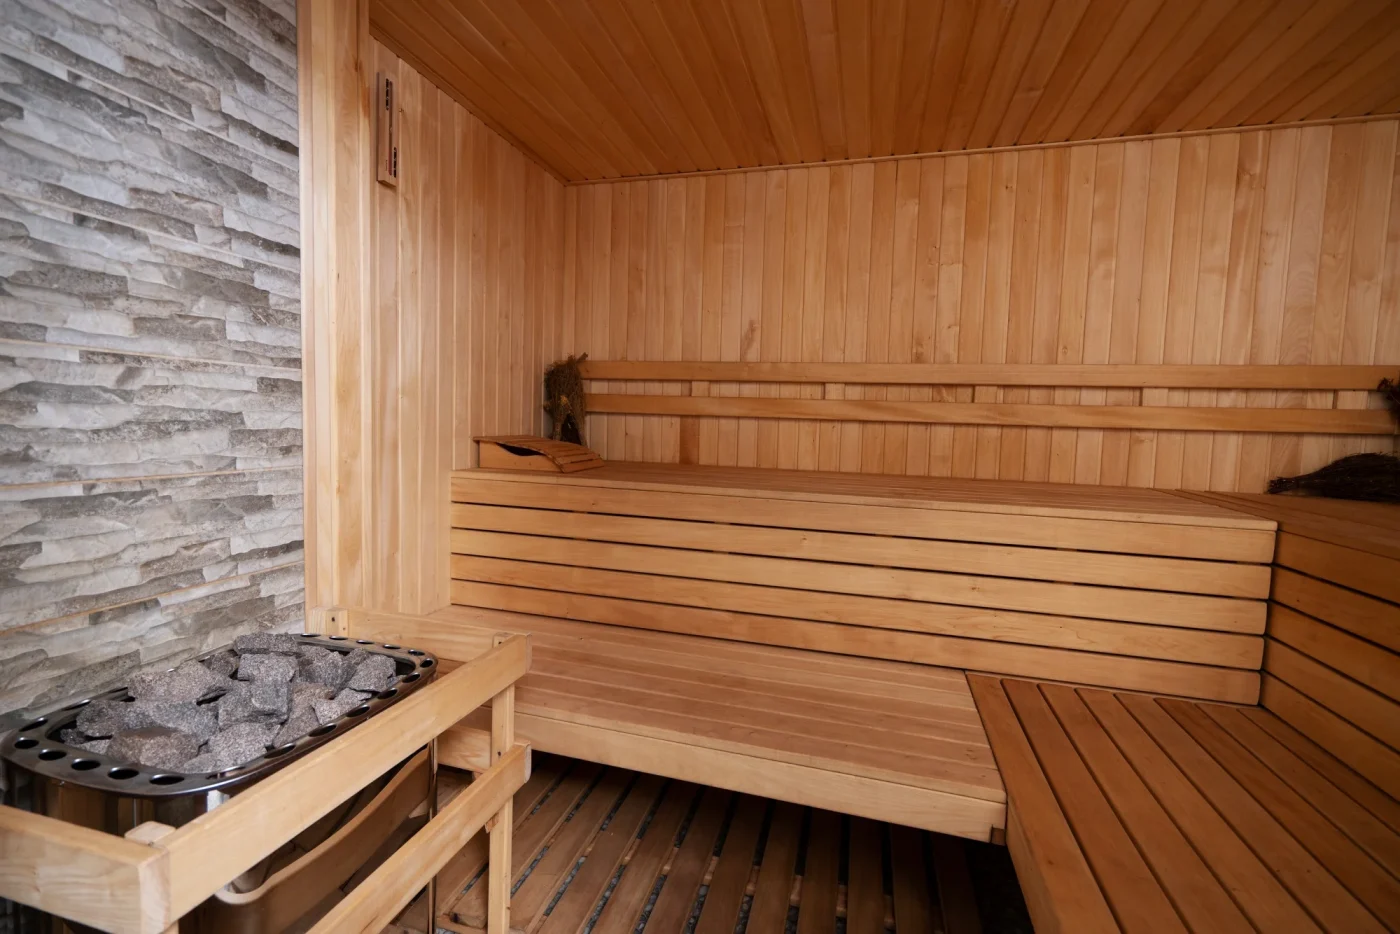
At the heart of the Finnish sauna lies the kiuas, a stove crowned with carefully arranged stones. The stones absorb and store intense heat, radiating a soft, enveloping warmth long after the fire or elements have done their work. Ladling water over them releases löyly, the cherished burst of steam that defines the genuine experience.
Authentic Sauna Experience and Heat Quality
The magic of Finnish heat lies in its quality—deep, gentle, and enveloping rather than harsh. The generous mass of heated stones delivers a warmth that penetrates and soothes, while the steam adds a soft humidity that opens the senses. Beyond pure luxury, regular sessions deliver profound health and wellness benefits: improved cardiovascular health, enhanced circulation, muscle relaxation, stress reduction, improved sleep quality, boosted immune function, clearer skin, and natural detoxification through sweating.
Why Finnish Sauna Design Influences Modern Sauna Heaters
Today’s finest heaters, whether electric or wood-fired, honor these time-tested principles. Generous stone capacity, thoughtful heat distribution, and the ability to produce beautiful steam all trace directly to Finnish design. When you choose a heater built on this heritage, you invite centuries of refined craftsmanship into your own private retreat, marrying tradition with modern convenience.
Sauna Heater Installation FAQs
1. How much does sauna heater installation cost?
The heater itself typically costs between $400 and $3,000, depending on type and quality, while professional electrical work generally adds $500 to $2,000. The final figure depends on your heater’s power, the complexity of the wiring run, and whether your electrical panel needs any upgrading.
2. Can I install a sauna heater myself?
You can often mount the heater and arrange the stones yourself by following the manufacturer’s instructions carefully. However, all electrical connections must be completed by a licensed electrician to ensure safety and code compliance. Never attempt to hardwire a heater without professional expertise.
3. What size sauna heater do I need?
Use the trusted guideline of roughly 1 kW for every 45 cubic feet of interior space. Measure your sauna’s volume, divide by 45, and add a little extra capacity for large glass panels, uninsulated areas, or cold climates. This ensures efficient, even, enveloping warmth.
4. How long does sauna heater installation take?
Mounting and positioning the heater usually takes just an hour or two. The electrical work, handled by an electrician, may add a few hours more, depending on the wiring run and whether a new circuit is required. Most complete installations finish comfortably within a single day.
5. What electrical requirements does a sauna heater need?
Most traditional heaters require a dedicated circuit, often 240 volts, with wiring sized to the heater’s amperage and protected by an appropriately rated breaker. Proper grounding and adherence to local codes are essential. Compact plug-in units may use a standard 120-volt outlet instead.
In This Video
To bring the process to life, our accompanying installation video offers a clear, visual companion to this guide.
Sauna Heater Installation Overview
The video opens with a friendly overview of the essentials, introducing the main heater types, explaining the sizing guideline in plain terms, and highlighting the safety clearances and ventilation principles that underpin a successful installation. It’s the perfect orientation before you begin, setting expectations and building confidence.
Step-by-Step Installation Demonstration
From there, the demonstration walks you through each stage in real time: preparing the area, positioning and securing the heater, arranging the stones for optimal airflow, and connecting the controls. You’ll watch a licensed electrician complete the wiring safely, then see the first heating cycle and steam test, so you know exactly what a flawless result looks and feels like.
Final Thoughts on Sauna Heater Installation
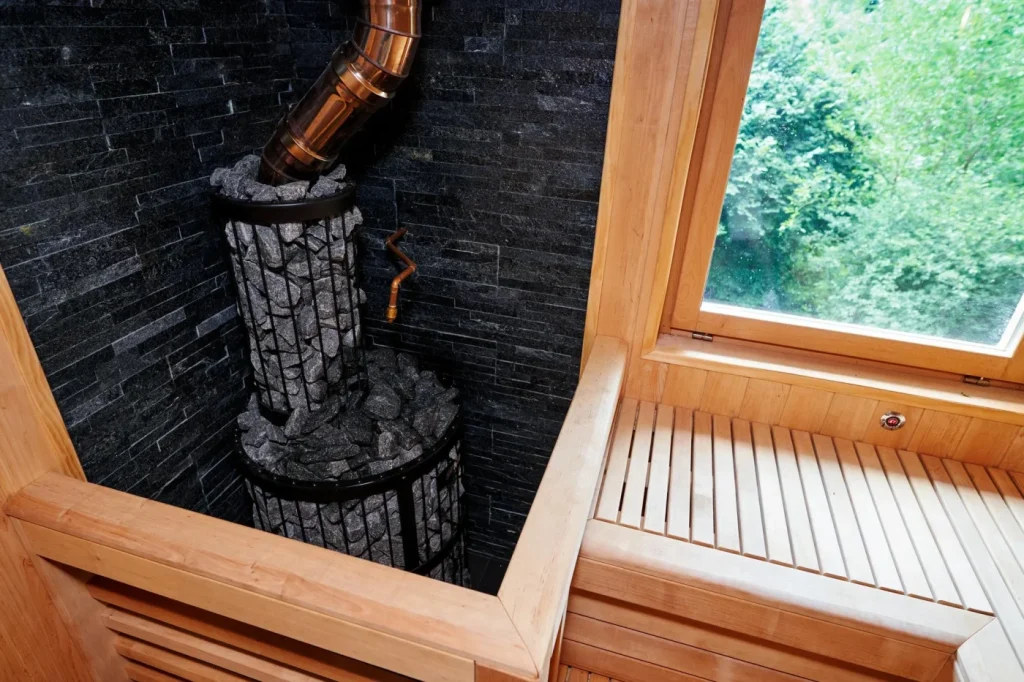
A well-chosen, well-installed heater transforms your sauna into a true wellness haven, delivering the deep, embracing warmth that makes every session restorative. By matching the heater to your space, honoring safety clearances, and entrusting the wiring to a professional, you lay the foundation for years of effortless, revitalizing comfort.
As you move forward, keep these essentials in mind:
- Match heater type and power to your sauna’s size and your lifestyle
- Use the ~1 kW per 45 cubic feet guideline, adjusting for glass and climate
- Honor every clearance and plan balanced ventilation from the start
- Always leave electrical connections to a licensed electrician
- Draw on Finnish principles—generous stones and gentle steam—for authentic heat
Your bespoke wellness sanctuary is closer than you think. To explore custom models like our Baby Bear, Mama Bear, or Papa Bear, or to browse premium sauna accessories, visit Bear Naked Saunas at https://bearnakedsaunas.com/ or stop by our location at 4881 Miller Trunk Hwy, Hermantown, MN 55811. Discover relaxation, View More custom designs, or Contact Us today to See More options and schedule a professional design consultation. Plan your heater with care, install it with confidence, and step into a warmer, calmer, more revitalizing way of living.